Want to preserve fond memories by printing a photo book? Then you should make sure to prepare your pictures so they keep looking stunning when they get printed.
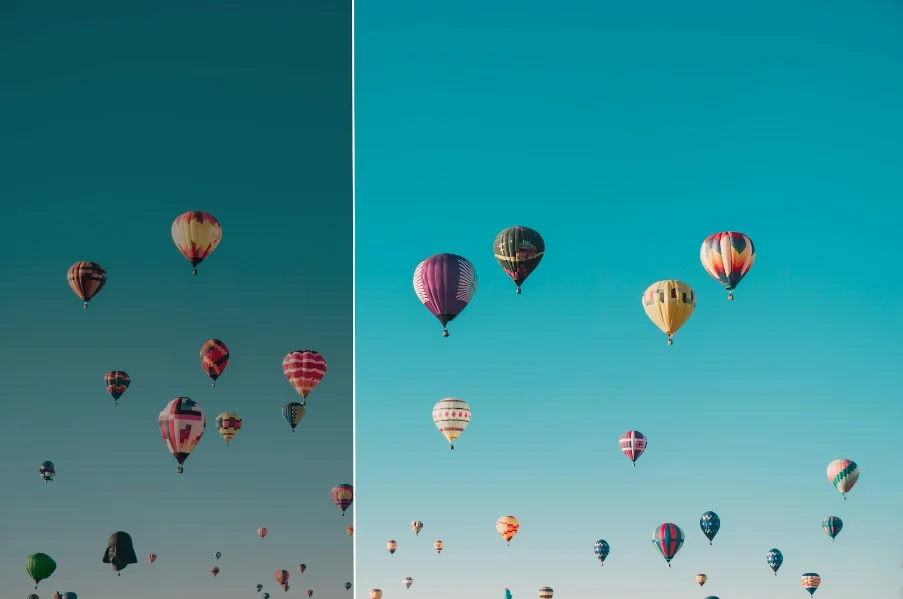
While reduced exposure and brightness are the current trend on social media, dark photos don’t look good in terms of printed photography. Besides, the brighter your image is, the more details are visible in it. In this article, you will find out how to brighten your pictures in post-production. Let’s get down to the step-by-step tutorial right now.
Easy Way to Make Pictures Brighter
Since editing photos on a computer is one of the most common ways to process them, we’ll show you how to correct your shots with a desktop image brightener. It has both basic and pro-grade editing tools. Besides, this is lightweight software, so it will work smoothly on your PC.
But before you begin, there is one thing you should consider – monitor settings. It has to be correctly calibrated so that the displayed colors match the colors in the printed pictures.
To increase brightness in your photos, you need to follow these simple steps:
1. Import Your Picture
To load your image, click Open Photo and select the file you need. Another way to add your picture is by dragging and dropping it. Then you can use the + and – buttons to zoom in and out.
2. Fix Brightness in the Image
There are several ways to brighten a photo that is too dark. If you are short on time, you can give an automatic tool a try. Just tick the Light box, and the program will instantly correct a low-lit image.
The photo editor also offers other features for those who prefer having more control over the process of tweaking pictures. For instance, you can adjust the Exposure setting – drag the corresponding slider to the right to make your image less dark. Another way is to set the amount of Shadows and Blacks.
3. Save the Edited Photo
To compare the edited image with the original one, either click and hold the Show Original button or hit the Before / After button. If you are happy with the result, then it is time to export your new picture to your computer. You can do it by hitting the Save button.
For more exporting settings, click File and select Resize and Save. In the new window, you can set the desired width and height for your photo. Here, you can also change the DPI, interpolation, and sharpness. Since you are preparing the image for getting printed, you should also make sure to select Printing in the Save for dropdown menu.
Wrapping Up
This is how you can easily make your pictures brighter. With just a few adjustments, you can transform those dim images into vibrant snapshots that truly capture the essence of meaningful moments in your life. So, don’t let poorly lit photos hold you back – run the editing program at your disposal and showcase your cherished memories in all their glory!
For more of such information, visit our blog here.


