Custom Mylar bags are the unsung heroes of packaging, especially in industries like food and pharmaceuticals. With their durability, flexibility, and stellar barrier properties, they ensure your products stay fresh and safe. But what really sets Mylar bags apart is their potential for custom printing, turning them into a dynamic tool for branding and information.
Ready to dive into the world of custom Mylar bags? Let’s get started!
What Exactly Are Mylar Bags?
Mylar, a trademarked name for BoPET (biaxially-oriented polyethylene terephthalate), is a type of polyester film created by DuPont in the 1950s. It’s a superhero material—strong, clear, and capable of shielding its contents from moisture, light, and gases. When this film is crafted into bags, it transforms into an incredibly versatile packaging solution.
Why Print on Custom Mylar Bags?
Printing on Mylar bags isn’t just about looks. Here’s why it’s a game-changer:
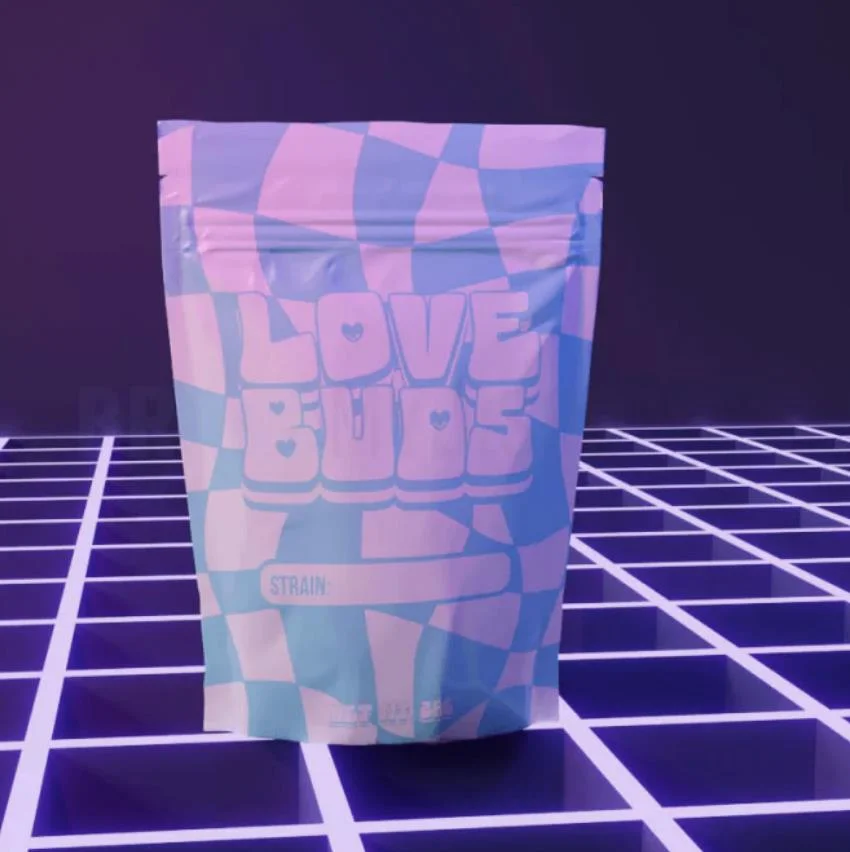
- Brand Power: Custom mylar bag printing turns your bags into mini billboards, showcasing your brand’s logo, colors, and message.
- Regulatory Compliance: Industries like pharmaceuticals require clear labeling. Printing directly on the bag ensures you meet these strict standards.
- Shelf Appeal: Eye-catching designs make your product stand out, attracting more customers.
- Information Hub: Custom printing provides essential details about the product, usage instructions, and any other relevant info.
Printing Methods: The How-To of Custom Mylar Bags
There are several methods to print on Mylar bags, each with its own perks. Your choice depends on your budget, design complexity, and the quantity of bags you need.
1. Flexographic Printing
The Lowdown: Also known as flexo printing, this method uses a flexible relief plate to transfer ink onto the bags.
Pros:
- Economical for large runs.
- High-speed production.
- Works on various substrates.
Cons:
- High initial setup costs.
- Not ideal for highly detailed designs.
2. Gravure Printing
The Basics: This technique involves engraving the image onto a cylinder, which then transfers ink to the Mylar bags.
Pros:
- Produces high-quality, detailed images.
- Best for long runs.
Cons:
- Expensive setup. Not cost-effective for small batches
3. Digital Printing
The Scoop: Digital printing uses digital files to print directly onto the bags without needing plates.
Pros:
- Great for short runs and quick turnarounds.
- Easy customization and variable data printing.
Cons:
- Higher cost per unit for large runs.
- Limited substrate options.
4. Screen Printing
The Gist: This method uses a stencil (or screen) to apply layers of ink on the bags.
Pros:
- Excellent for bold, vibrant colors.
- Cost-effective for small to medium runs.
Cons:
- Not suitable for intricate designs.
- Slower than other methods.
The Printing Process for Custom Mylar Bags
- Designing Your Bag
Begin with a killer design. Collaborate with a graphic designer to create something that reflects your brand’s identity—think logos, colors, and any other elements that scream “you.” Make sure to include all necessary regulatory info. - Choosing Your Printing Method
Decide on the best printing method based on your needs. Discuss your options with your printing service provider to find the perfect fit. - Prepress Preparation
Before printing, you’ll need to prepare:
- Proofing: Review a proof of your design for errors or tweaks.
- Color Matching: Ensure the colors in your design match your brand standards.
- Plate Making: If using flexo or gravure printing, create the necessary printing plates.
- Printing
The actual printing process varies:
- Flexographic and Gravure Printing: Set up the press, load the Mylar film, and run the print job.
- Digital Printing: Load your design into the digital printer, and print directly onto the Mylar bags.
- Screen Printing: Prepare screens for each color and manually or automatically feed the bags through the screens for ink application.
- Post-Printing Processes
After printing, several post-printing steps may be necessary:
- Lamination: Add a protective layer for extra durability.
- Cutting and Sealing: Cut the printed film into individual bags and seal them as needed.
- Quality Control: Inspect the bags to ensure they meet quality standards.
Tips for Successful Custom Mylar Bag Printing
- Partner with Pros
Choose a printing service with experience in Mylar bags. They’ll have the know-how and equipment to deliver high-quality results. - High-Resolution Designs
Provide high-resolution artwork to avoid pixelation or blurriness, especially for intricate designs. - Test Runs
Conduct test prints to ensure your design looks perfect on the Mylar material. This helps catch any issues early. - Environmental Considerations
Discuss any extreme conditions your product might face (like high humidity or temperatures) with your printer to choose suitable inks and materials. - Stay Updated on Regulations
Keep up with industry regulations to ensure your packaging remains compliant.
Printing on Mylar bags is a fantastic way to elevate your packaging game, combining visual appeal with practical benefits. Custom Mylar bags not only protect your products but also serve as powerful branding and informational tools. By understanding the various printing methods and following best practices, you can create stunning and effective custom Mylar bags that boost your brand and meet your packaging needs.
Whether you’re in the food or pharmaceutical industry, the right custom Mylar bags can make all the difference. Start your journey today with a reliable printing partner and watch your packaging come to life with vibrant, custom designs.
