When it’s time for a new water heater, understanding the installation process can help you make informed decisions and feel confident about the steps involved. A properly installed water heater ensures reliable access to hot water and can improve energy efficiency in your home. Here’s what to expect when you’re considering water heater installation, from selecting the right type to the installation day itself.
1. Choosing the Right Water Heater
Before installation, the first step is choosing the water heater that best fits your household’s needs. There are several types of water heaters, including traditional tank models, tankless systems, and heat pump water heaters. Each type has unique features, benefits, and limitations.
- Traditional Tank Water Heaters: These models store hot water in a large tank and are typically more affordable upfront. However, they take up more space and may be less energy-efficient in the long run.
- Tankless Water Heaters: These heaters provide hot water on demand, which means they only heat water when needed. Tankless systems are energy-efficient and space-saving, but their initial installation costs are usually higher.
- Heat Pump Water Heaters: These units use electricity to move heat from the air or ground to heat the water, making them highly energy-efficient. However, they often require more space than tankless options.
2. Assessing Your Home’s Hot Water Needs
One of the most critical factors in choosing a water heater is understanding your home’s hot water demand. Factors like household size, peak water usage times, and personal preferences all play a role in determining the appropriate water heater size. For example, a family of four typically requires a larger capacity or multiple water heaters, while a smaller household may benefit from a tankless or compact model.
A professional plumber can help assess your water usage and recommend a suitable water heater model based on your specific needs. Many homeowners trust Benjamin Franklin Plumbing to provide expert guidance in making these important decisions.
3. Preparing for Installation Day
Once you’ve chosen a water heater, the next step is preparing for installation. Scheduling the installation at a convenient time allows you to be available for any questions or decisions that may arise. Before the installation begins, make sure the area around the installation site is cleared of any obstacles, giving the plumber easy access to your water and electrical connections.
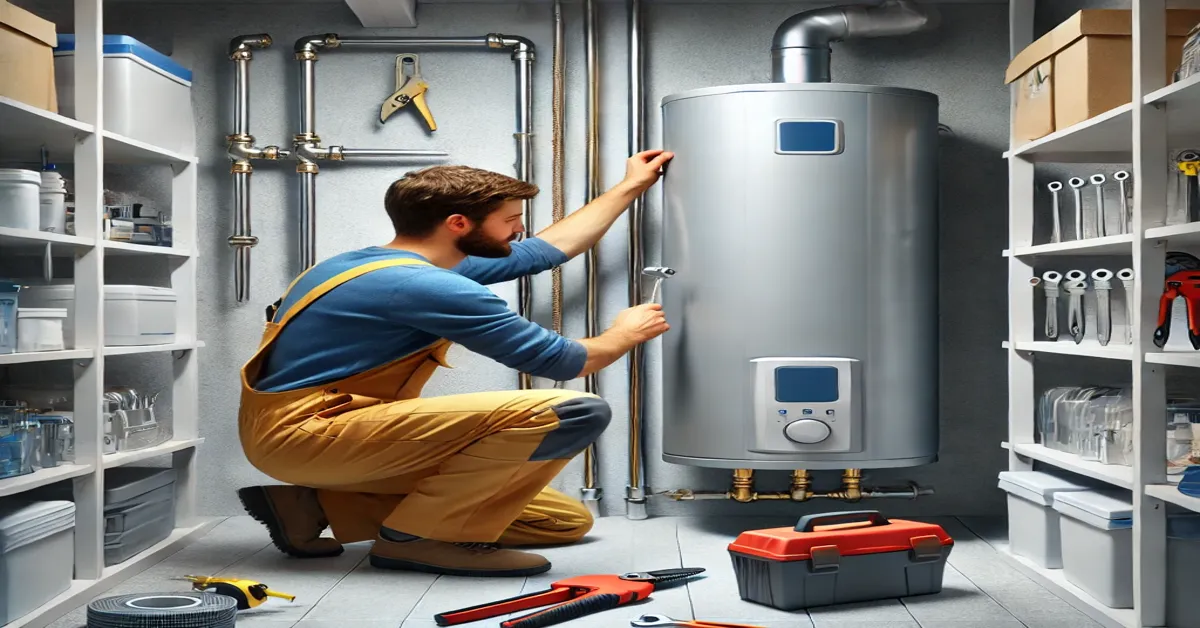
On installation day, expect the plumber to begin by turning off the water supply and electricity or gas to your current water heater. This ensures a safe installation process. After disconnecting the old unit, the plumber will dispose of it following local regulations, leaving you with a clean space for the new unit.
4. Installation Process: Step-by-Step
The installation of a water heater involves several detailed steps, each of which is essential for ensuring optimal performance and safety. Here’s a look at the typical process:
- Step 1: Placement of the New Unit
The new water heater is placed in its designated location, whether in a utility closet, garage, or basement. Positioning is important, as it affects access to water lines, electrical wiring, and ventilation. - Step 2: Connection of Water Supply Lines
The plumber will connect the cold and hot water supply lines to the new unit. Properly sealing these connections is essential to prevent leaks and maintain consistent water flow. - Step 3: Installation of the Temperature and Pressure Relief Valve
This valve is crucial for safety. It prevents excess pressure from building up inside the tank, reducing the risk of damage or explosion. The plumber will ensure it’s installed correctly to maintain safe operation. - Step 4: Electrical or Gas Connections
Depending on the type of water heater, either electrical connections or a gas line will be installed. Tankless models may require additional wiring or gas fittings to meet their unique requirements. All connections are tested to verify safe and efficient operation. - Step 5: System Testing and Temperature Adjustment
After all connections are secured, the plumber will turn on the water and power to test the system. They’ll adjust the water temperature to the recommended setting, generally around 120 degrees Fahrenheit, to ensure energy efficiency and prevent scalding.
5. Understanding Safety Measures and Codes
Water heater installation is a job best left to professionals because it involves adherence to safety measures and building codes. Licensed plumbers are familiar with these requirements and will ensure that your water heater complies with all local regulations. This includes the placement of the water heater, proper ventilation, and secure connections. Safety measures like earthquake straps in certain areas and temperature regulations also contribute to safe operation.
6. How to Ensure Efficient Operation
Once your new water heater is installed, there are steps you can take to keep it running efficiently. Routine maintenance, such as flushing the tank, inspecting the temperature and pressure valve, and checking for sediment buildup, can extend the lifespan of your unit. These practices not only improve efficiency but also reduce energy bills.
A licensed plumber, such as those from Benjamin Franklin Plumbing, can perform regular maintenance and inspections to keep your system in optimal condition.
7. Benefits of Professional Water Heater Installation
Hiring a professional plumber to install your water heater offers several advantages. Licensed plumbers have the training and tools necessary to handle complex installations, reducing the risk of leaks, poor connections, or damage. Additionally, professional installation may come with warranties or service guarantees, giving you added peace of mind.
By investing in professional installation, you’re not only protecting your home but also ensuring that the new water heater functions correctly and efficiently from the start.
8. Troubleshooting Common Issues Post-Installation
Even with a high-quality water heater and professional installation, you may encounter minor issues as the system settles in. Some common problems include:
- No Hot Water: If you’re not getting hot water, the issue could be a tripped breaker (for electric models) or a problem with the gas supply (for gas models).
- Temperature Fluctuations: If the water temperature is inconsistent, it may be due to sediment buildup in the tank or an incorrect thermostat setting. Regular maintenance can prevent this issue.
- Strange Noises: Hearing popping or rumbling sounds is often a sign of sediment buildup, which can be resolved with tank flushing.
Knowing how to identify these issues and seeking professional assistance promptly can help maintain your water heater’s efficiency and lifespan.
9. Making the Most of Your New Water Heater
A newly installed water heater brings added convenience to your home, from consistent hot water for showers and washing to improved energy efficiency. To maximize these benefits, follow manufacturer recommendations for maintenance and avoid overloading the system. Regularly checking for any signs of wear or inefficiency ensures that you can address issues early on.
Final Thoughts on Water Heater Installation
Water heater installation is a significant investment that requires careful planning and professional expertise. By choosing a licensed plumber, understanding the installation process, and taking steps to maintain your system, you can enjoy reliable hot water for years to come. When it’s time for a new water heater, trusted professionals like Benjamin Franklin Plumbing can guide you through each step, ensuring a smooth and efficient installation experience.


